If you'd like to send and receive Bell Aliant email using the Windows Live Mail email program, we can help you set it up. You simply need to add our email settings into your email program.
To set up email
- Click the Start Menu and Windows Live Mail.
- In the Add your email accounts wizard enter your information: (If the account wizard doesn’t open, click Email on the Accounts tab)
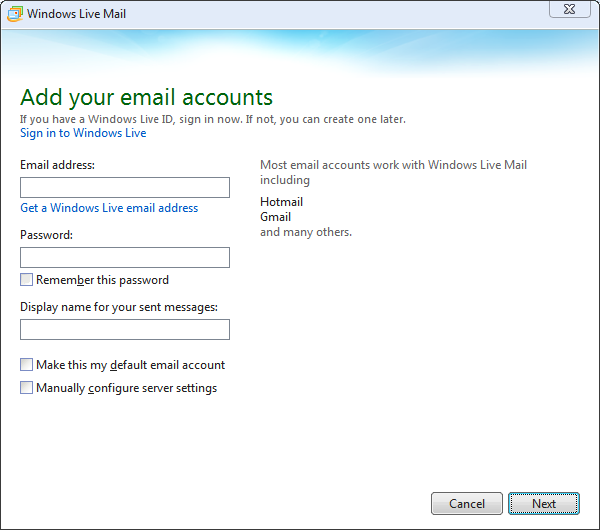
- Email address: Your Bell Aliant email address. i.e. [email protected]
- Password: Your Bell Aliant email password. To save your email password, click Remember this password
- Display name for your sent messages: Name you want to display on your outgoing emails. i.e. John Smith
- If there is no checkmark in Manually Configure Server Setting, click it
- Click Next.
- Enter the following inthe the Configure server settings screen:
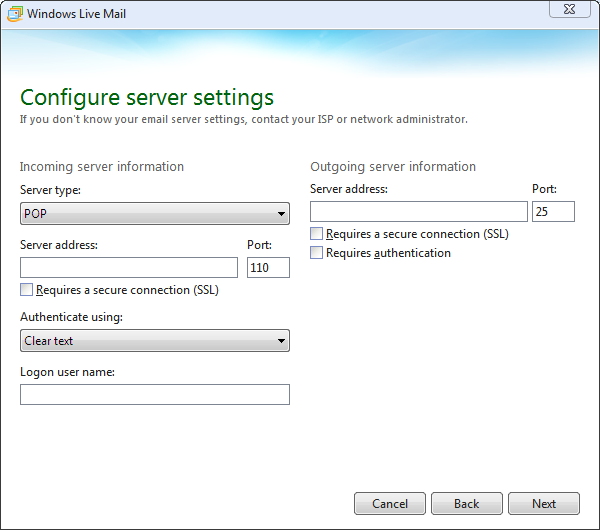
- Incoming Server Information:
- Server Type: POP
- Server Address: pop.bellaliant.net
- If the Requires a secure authentication (SSL) has a checkmark beside it, click to remove.
- Port: No updates are needed
- Authenticate using: No updates are needed
- Logon User name: Use your Bell Aliant email address i.e. [email protected]
- Outgoing server information
- Server address: smtpa.bellaliant.net
- Port: Update the port number to 2225
- If the Requires a secure authentication (SSL) has a checkmark beside it, click to remove.
- Add a checkmark to Requires authentication, if there isn’t one already there.
- Incoming Server Information:
- Click Next.
- Click Finish on the confirmation screen.
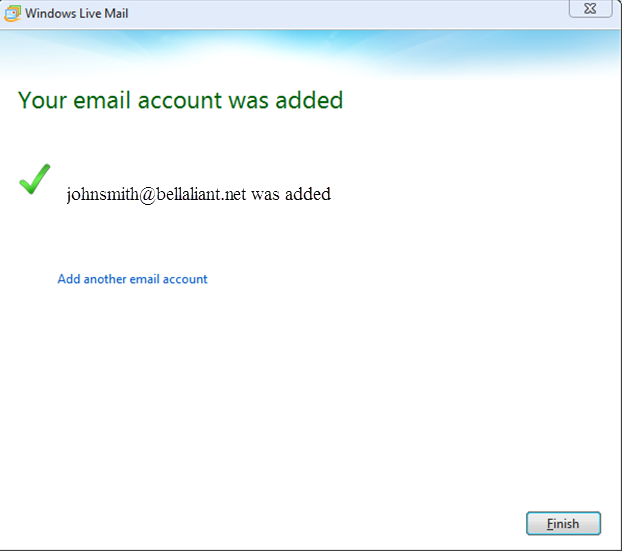
It’s that easy to set up your Bell Aliant email account in Windows Live Mail!